How to clean your pantry
Do you dream of a perfectly clean, well-stocked and tidy pantry? If so, you’ve come to the right place! Together, we’ll learn how to turn your pantry into your new favorite room in two simple steps.
Part I: Cleaning out the pantry
Quite often, the pantry tends to become a catch-all. With all the garbage that accumulates over time, it’s hard enough to keep your pantry clean. That’s why it’s a good idea to always start with a pantry clean-out before refilling.
Equipment and materials

Empty your pantry
The first thing to do when cleaning out the pantry is, of course, to tidy up. Before you impulsively take everything out, ask yourself if you have room elsewhere to store your items. If you live in a small space, maybe the pantry is the place for you! Once you know roughly where your things will be stored, you can pull out the entire contents of your pantry. To make your work easier later on, it’s a good idea to categorize and separate your items.

At this stage, it’s also important to manage your perishables. Ideally, you should check the condition of all your products. Throw out any rotten food and keep an eye on slightly expired products. For products that are still good, but that you no longer eat, there’s always the option of donations, either to your friends and family or to an organization that recovers foodstuffs.
So, classify foods not only in terms of importance, but also in terms of quality. Remember first in first out? It’s crucial that you replace foods with the earliest expiry date first on the shelves.
Pantry cleaning
Once everything is out and sorted, it’s time to clean out the pantry. Here are the cleaning steps we recommend for best results:

Dust removal
If your pantry has high shelves, pull your stepladder into the room and climb up safely. Armed with your feather duster or a clean, dry wipe, start dusting the shelves, walls and ceilings as you work. The aim is to get all the dust and possible cobwebs down to the floor.
Suction
Once the dust has settled, you can vacuum the floor. You can change the nozzle to reach every corner of the room. Before you start vacuuming, make sure your vacuum cleaner is working properly. Then move back and forth to collect the dust on the floor.
Cleaning
Now that you’ve started cleaning the pantry and removed the dust, you can begin washing. Once again, it’s important to start at the top and work your way down. So get back on your stepladder and clean the shelves one by one. For cleaning, we recommend using an all-purpose cleaner and a microfiber cloth. If you don’t have a microfiber cloth, a simple wipe will also do the job. (To avoid leaving spray marks on your shelves, spray your product on your cloth rather than on the surface itself).
If you find that some stains persist on your shelves, you can use a solution of white vinegar, a powerful stain remover and cleaner, and hot water. Combine 50% vinegar and water.
Part two: organizing the pantry
The second part is dedicated to pantry organization. In this part, we focus on how to arrange your items efficiently.
What to put on the shelves

Since the top shelf is more difficult to access, it’s best to store more seasonal and occasionally-used kitchen items. In this way, the more easily accessible shelves can be devoted to regularly-used products.
On shelves at body height (from head to pelvis), place the products and appliances you use most. You can also separate your products into categories, and store them in baskets. For example, dedicate half a shelf to your pasta, flour and grains.
Finally, the bottom shelf is ideal for heavier items that cannot be placed on the upper shelves for obvious safety reasons.
A few tips for organizing your pantry
First in, first out
As with any grocery store, implementing a FIFO(first in first out) system has many advantages. In fact, no matter how you go about it, it’s important to classify your perishables so that the oldest products are consumed first, and those with the latest expiration dates are put in the back. In this way, you avoid ending up with wasted food that has been pushed to the back of your shelves, out of sight.
This system also helps to avoid problems with fruit flies and unwanted insects in the pantry, which are attracted by rotting and poorly stored foods such as potatoes, onions and others.
Overlay
Depending on the size and distribution of the shelves in your pantry, it’s quite possible that some shelves have a more interesting height than others. To make 100% use of the space you’re working with, we recommend stacking some of your products to maximize storage. It’s also possible to use this strategy to keep an eye on the remaining quantity of food for a given item, simply by stacking them, following the first-in, first-out technique of placing the most recent product below the others.
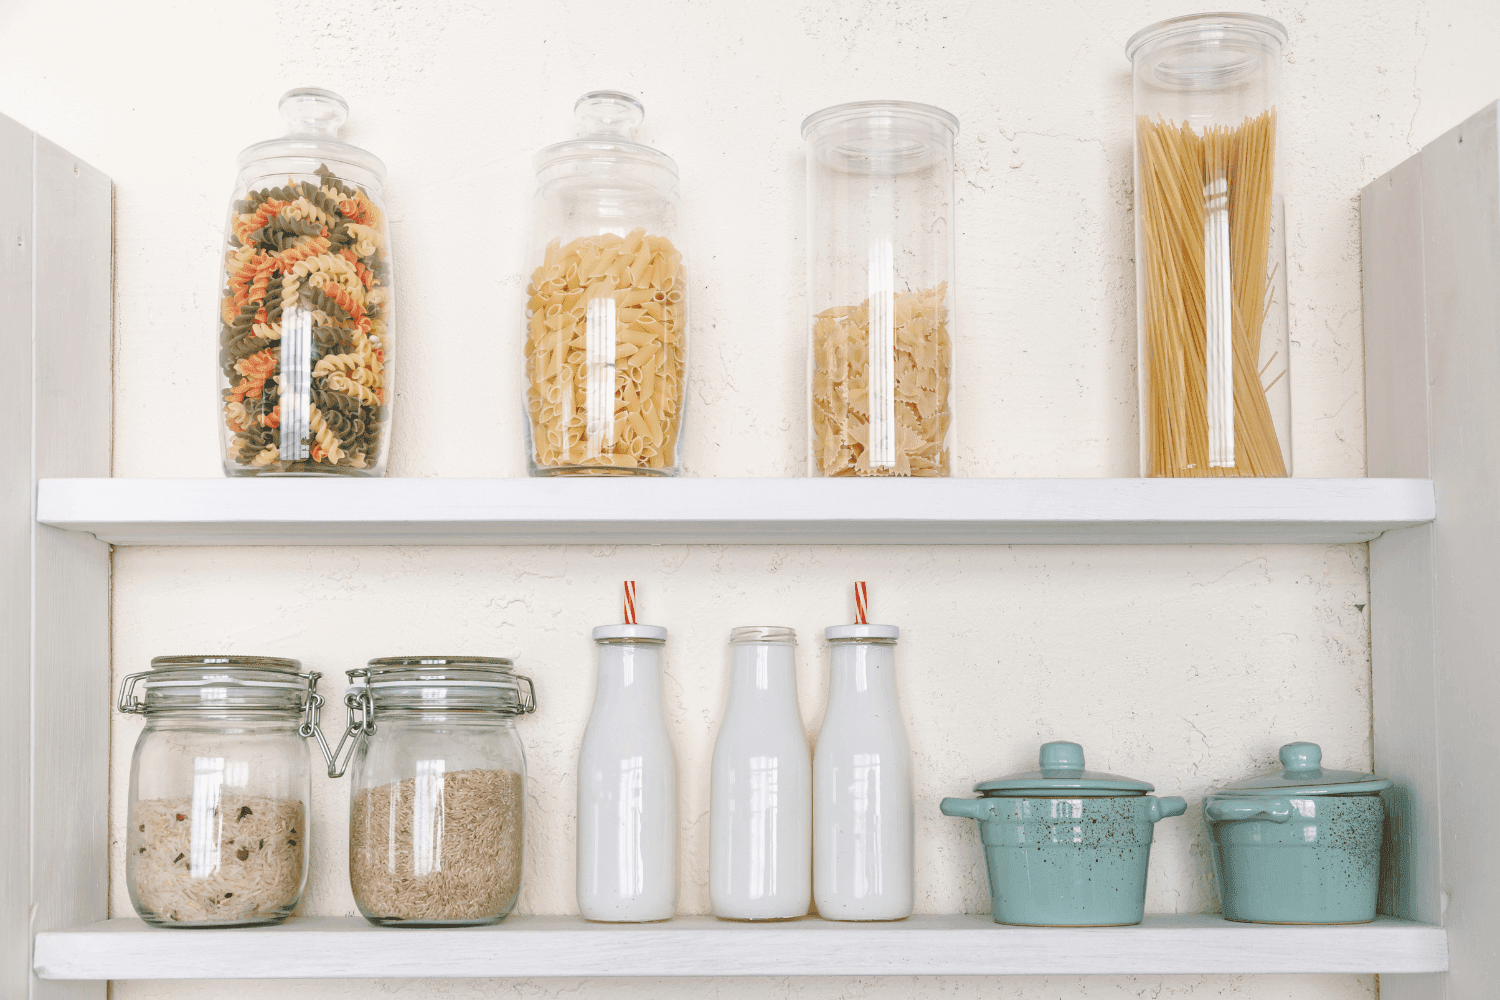
Transparency

Often, when we can visually see the food in our pantry, we’re less inclined to waste. In fact, transparent containers play a number of interesting roles other than just embellishing the presentation of your products. They can be purchased with
Functionality
If your pantry feeds more than one person, it’s a good idea to think about how easy it is for everyone in your family to access the products. Take, for example, transparent containers with vacuum lids. Frequently, the suction of these lids makes removal very difficult, even for adults! So we need to think of alternatives that will be suitable and available for everyone. In the same vein, putting children’s snacks on the bottom shelves makes them accessible (if that’s what you want, of course!) and, by the same token, gets them involved in their lunch.
Labeling

If you can’t use transparent containers, labeling your products is a solid alternative for keeping track of the contents of your pantry. To do this, you can buy a labelling machine or use the more economical version with Post-it stickers!
For more advice, contact us!